SirLightyear
New member
I should have gone with the ultra lows. They do look great
what about this? it's for the mt-09 but it should work for the mt-07 ...
A more aggressive riding position? - Page 5


Quote Originally Posted by Alex_AC View Postuuhmhmmmmmm those handlebars... uuuhrmm are u rly serious with those bars?")
One of the hardest parts is drilling the holes in the new Renthals as they are pretty thick - have a good battery in your drill and drill pilot holes first as it's a lot easier.RichMT/And30ers
Would either of you be prepared to write a mini-tutorial on fitting the Renthal ultra lows? It's a mod I'd also like to do to get a bit more weight over the front end. I know you've both given the odd snippet of information but I'm just a tad nervous removing switchgear/throttle/brake/clutch so a guide with any gotchas would be great. Eternally grateful, etc, etc...
I used a smear of neat washing up liquid and it worked on fine. When it dries, it's sticky too so ensures a solid grip.... Only tricky bit is to get the left hand side mirror clamp back onto the new Renthal bar since left hand grip area of the Renthals is structured. You have to fiddle/force it a bit since it's a very tight fit.
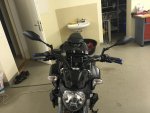
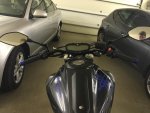
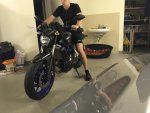
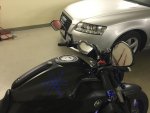
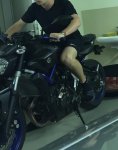
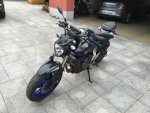

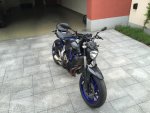
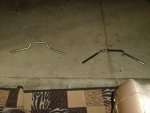
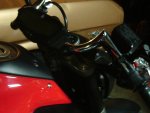
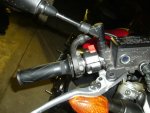
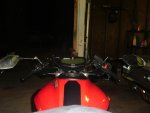
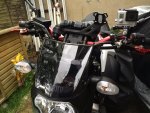
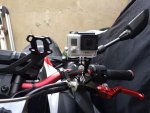
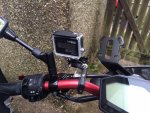
Best looking handlebar exchange for the MT 07 ive seen since last august.Hey guys, so eventually I baught the WRP Alu-street low. And I couldn't be happier. The bike is a lot more nimble and I feel a lot less wind resistance. Also conering is improved. Here are some photos:View attachment 1916View attachment 1917View attachment 1918View attachment 1919View attachment 1920View attachment 1921View attachment 1922View attachment 1923
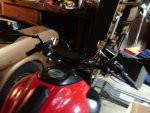
Really like that, nice oneGot mine fitted now. Not sure if I got the angle correct but seems to be fine. Here's a couple of pics...
View attachment 1816
View attachment 1817
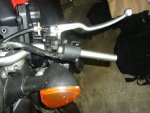
The small bracket to the left is a mount for my GoPro. I've also now got the GPS mount and smoked flyscreen to fit so that'll finish the front as I want it.
Just realised you can see my wife in the mirror in the first pic!
 All clutch side take off grip
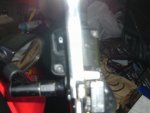 then unscrew the screws
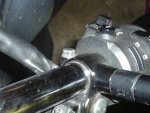 then the bolts
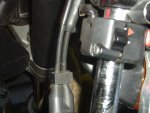 brake side unscrew the screws
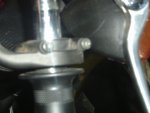 then the bolts
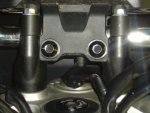 take those out
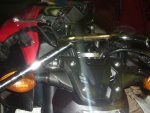 then the bolts over the bars